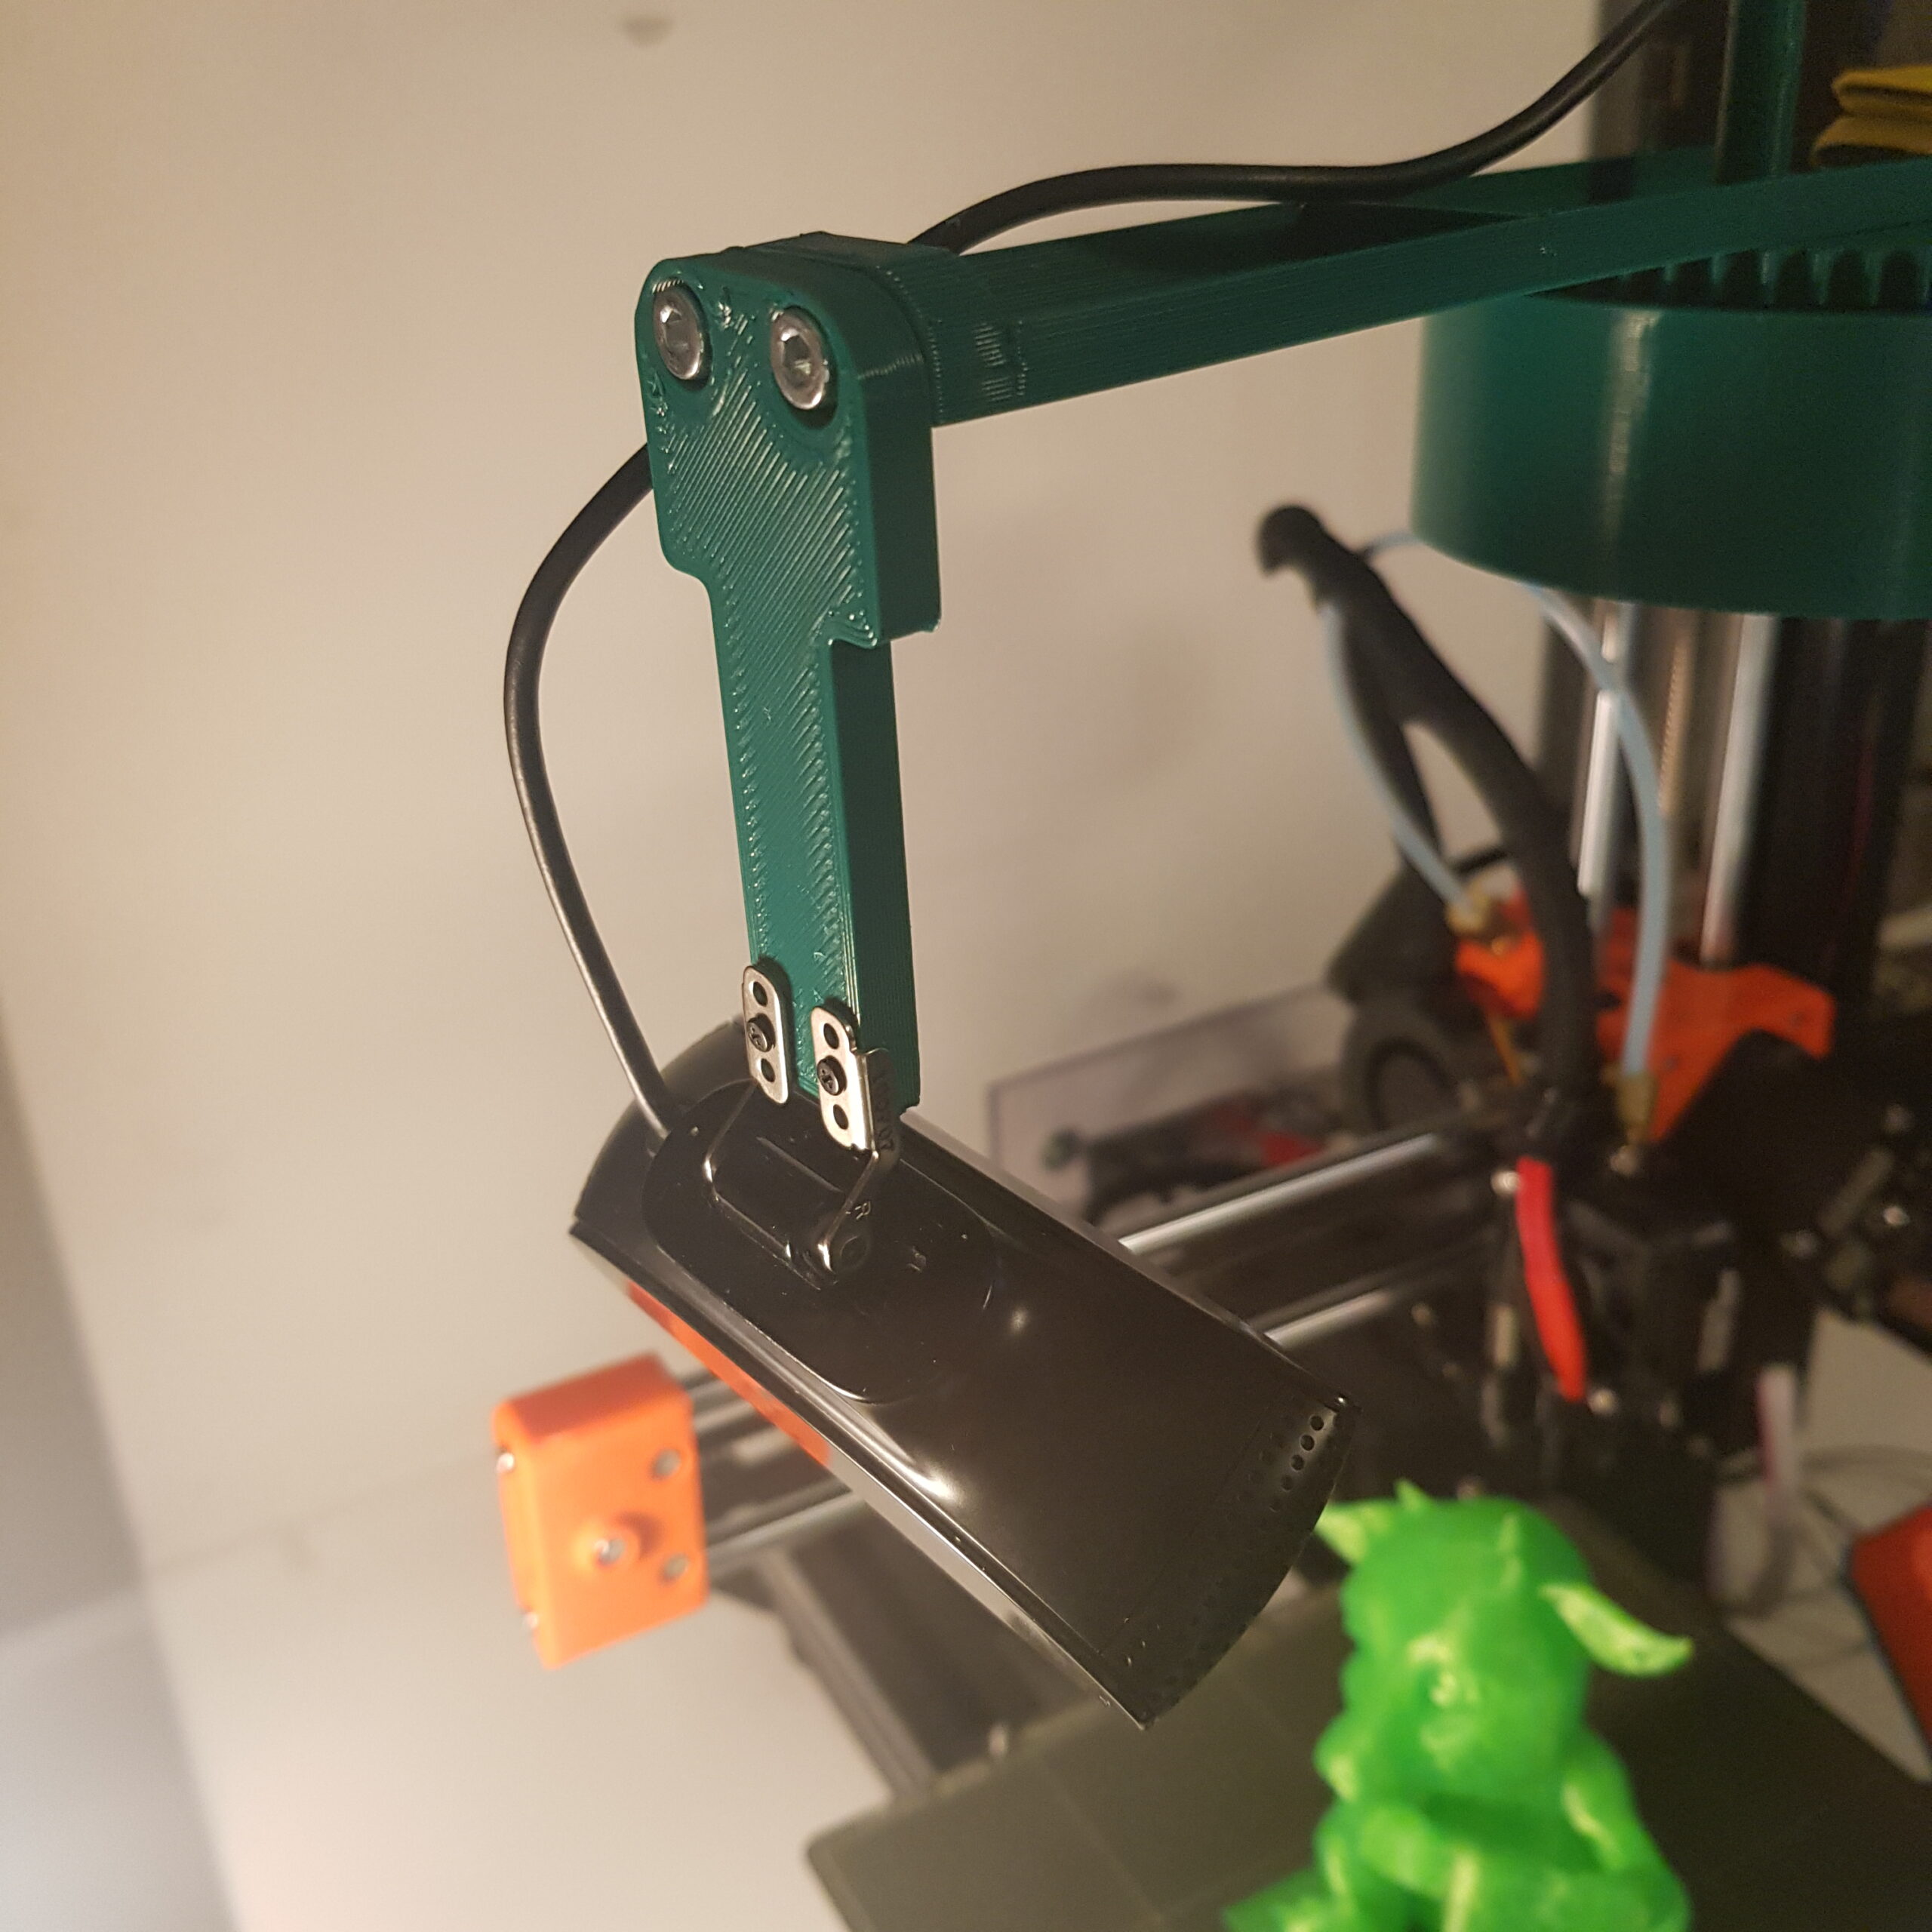
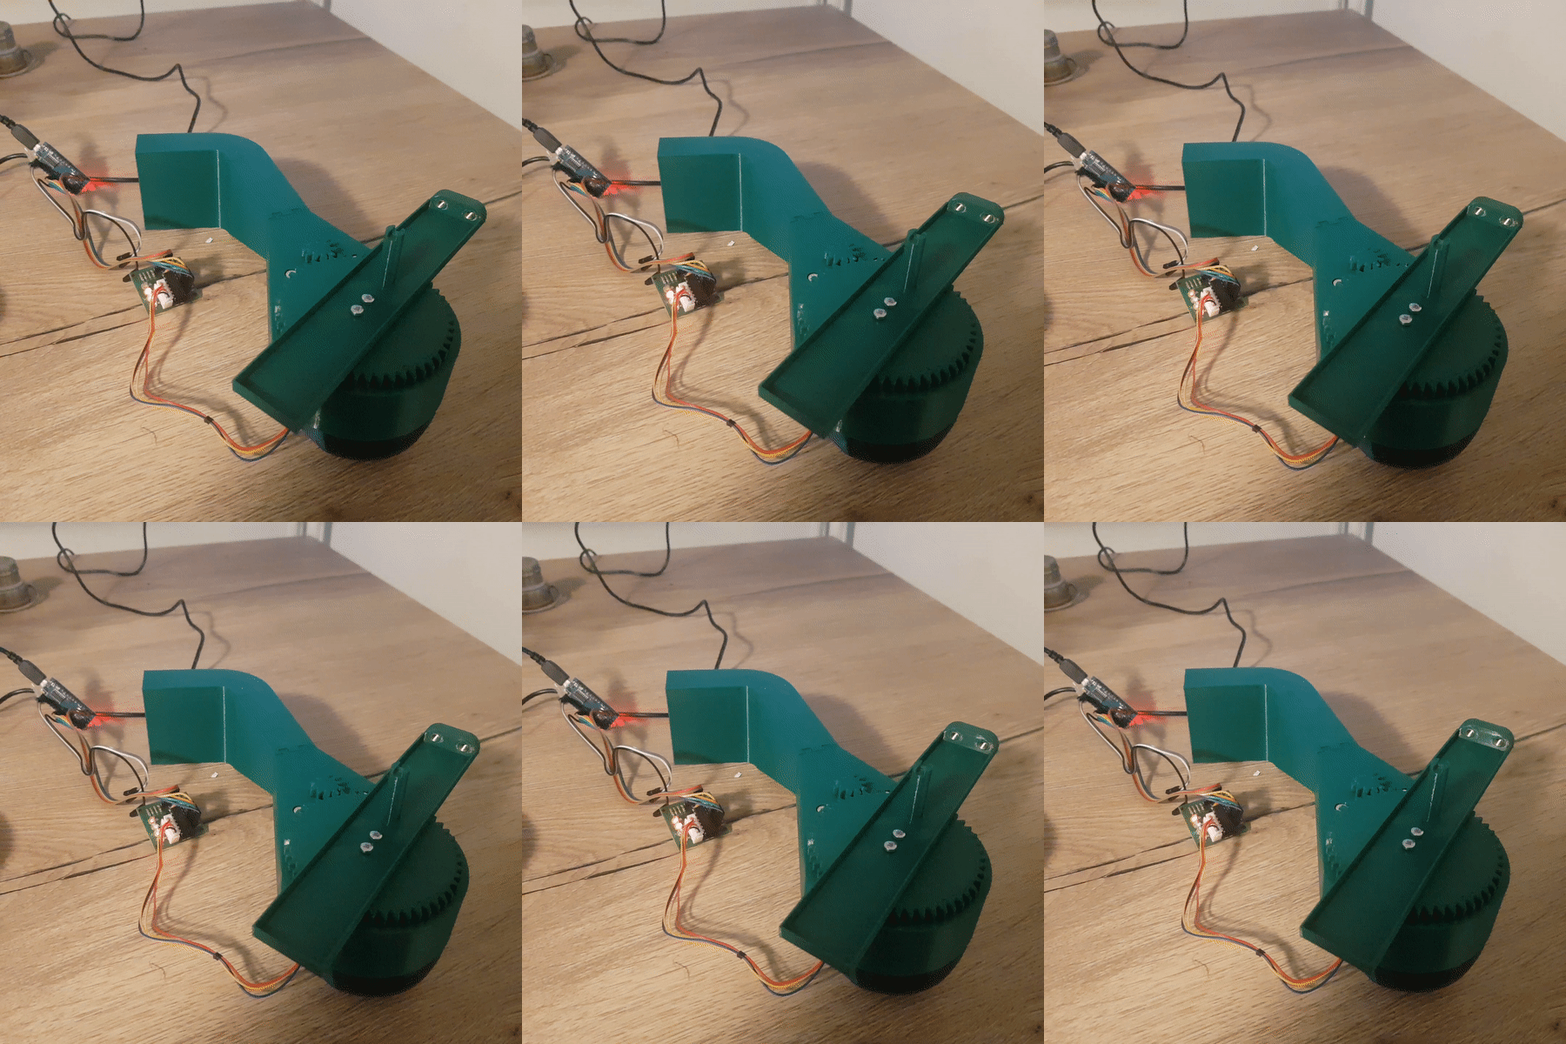
The camera arm in 3DP’s previous adventure had a few shortcomings. And since the server running octolapse can be freed as of lately, the raspberry pi proxy-bypass is not needed anymore. So, time for an upgrade story!
The timelapses for 3D printing are a common sight online. One of the most inspiring creators is Joel at WildRoseBuilds. He has some great rotating timelapses that are likely created by rotating the entire 3D printer on a turning base a relativity theory procedure. 3DP get’s motion sick however, so he decided to rotate the camera instead. It is based on the previous arm, but that one was not really strong enough and large enough to provide steady time lapses.
So, let’s get to work. The raspberry pi at the window can go back to it’s main job, which is counting lightning strikes (outside). The server that runs octoprint (gigabyte brix) is placed closely to 3DP. Time to get to work with the first test print.
That doesn’t look half bad! The gears fit, so it is time to expand the design. The only bit of support needed is for the outrigger corner, the rest of the prints are fitted with threaded inserts by Dr. Weller! Note that the design also allows to use nuts instead of threaded inserts.
Dr. Weller is done, and the inserts look good. Time to mount the 28BYJ-48 geared stepper motor and give it a spin!
Time to mount the assembly! BTW, you can find all the models on Thingiverse! The camera arm is longer and therefore needs additional counterweight in the form of lead strips.
The pink camera arm is reprinted in a longer version for better clearance and angle. A box for the arduino with firmata express is printed with 2 RJ45 connectors and 2 Stero Jacks. The stereo Jack is for power control, the RJ45 for stepper motor. The rest is for future use.
Dr. Weller did a good job of wiring up the Arduino box, and a RJ45 breakout junction box. We now only need one hole in the 3DP’s Home to wire everything up.
The Arduino box is closed up, and the junction box is in it’s final position. A bit of PTFE spray helps to smooth out any friction between the large gear and the turning platform.
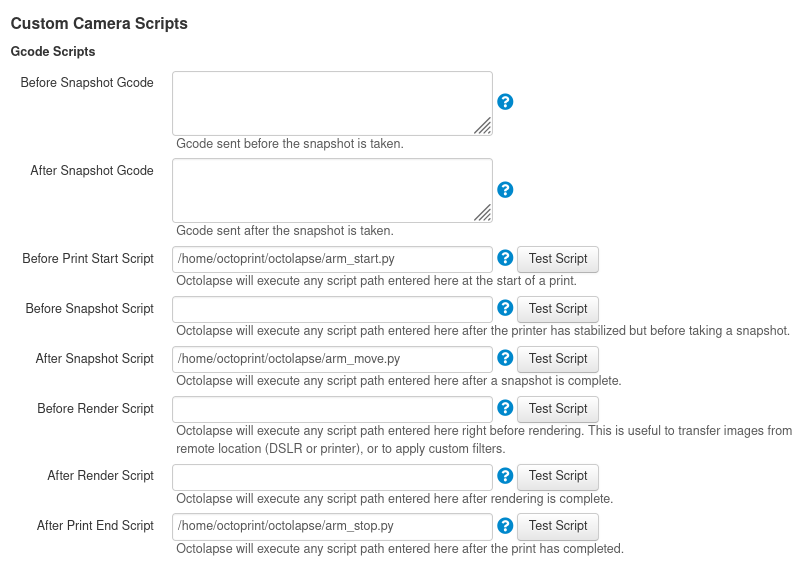
Everything is mounted and ready to go!. Some octolapse settings and we are ready to go. But what to print? Well, it is time for 3DP to give back some love to all the tools that helped build him his home and camera arm. The tool pack is constantly adding new members, and the current organizational system is far from flexible. All the control code is found on GitHub as usual!
Also in the Shed universe, the tool storage is getting cramped. So 3DP get’s to work, and print’s a complete modular tool organization system for DIN Rails. This version is angled and suits the electronics tools well mounted on a shelf above the workbench. Find the models to print your own here: https://www.prusaprinters.org/prints/56387-din-rail-modular-tool-organizer
And the straight version works well in the shed mounted on the wall! 3DP is a bit tired now, which can be seen by looking at his print bed. It is rather sagged after a Z-Axis crash incident so much hard work. So the tools all chip in and buy 3DP some 0.1, 0.2 and 0.3mm shim washers!
First the shim washer is fitted on for size. When the right thickness is found, the bed screw is removed, and shimmed below the heated PCB. Starting with the Middle, then the outer center (+) screws, and finally the corners, this results in a much more level bed! Talking about beds, it is time for 3DP to take a well deserved nap, time for us to watch some time lapse videos!
The End — or is it?
So, 3DP wasn’t happy with the quality of the videos yet. Mostly the stability of the camera and the light are an issue. The small ribbed and light camera arm is also very flexible. So flexible it starts shaking during printing.
So to fix this, 3DP created a new camera arm. He also added a washer on the rear nut so the backside of the arm clears the motor driving gear. Lastly, a ring light is added that can be swung in when it is time for a time lapse. So how does this perform? Let’s see, lights.. camera… action!
The End


